Tuesday 23 November 2021

Leafy Frame with Reverse Stenciling

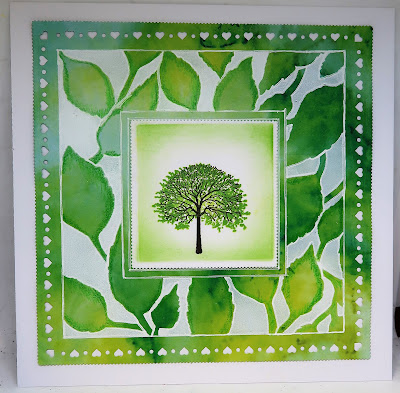
I worked on designer paper and added acrylic paint to create this reverse stencil frame.

Trim a piece of Amazonia designer paper to 7” x 7” and attach the leaf box frame stencil to the front using masking tape to create a hinge.
Add the square into the centre as a mask and blend white acrylic paint through the frame.
Remove and clean the stencil. Once the paint is dry, replace the stencil and go round all the edges of the apertures with a white gel pen. Remove the stencil and add lines around the outside and inside of the frame with a ruler and the same gel pen.
Die cut an aperture around the stencilling using the Largest Square Heart Doodle Aperture Frame-It die, and die cut round the outside of the paper using the largest nest square picot die.
Add further white gel pen and shading to the leaves using Faber-Castell Polychromos (#266, #112) and add the topper to the front of a 7” x 7” white card blank.
Die cut a topper from Clarity stencil card using the 2.75” nested squares picot die. Leave the die in place.
Blend Twisted Citron and Mowed Lawn Distress inks round the edges of the topper with the die in place to create a vignette. Remove the die.
Add one of the trees from the Trees and their Mantles stamp set in Ground Espresso Archival ink.
Add the mantle in Mowed Lawn and Twisted Citron Distress oxides.

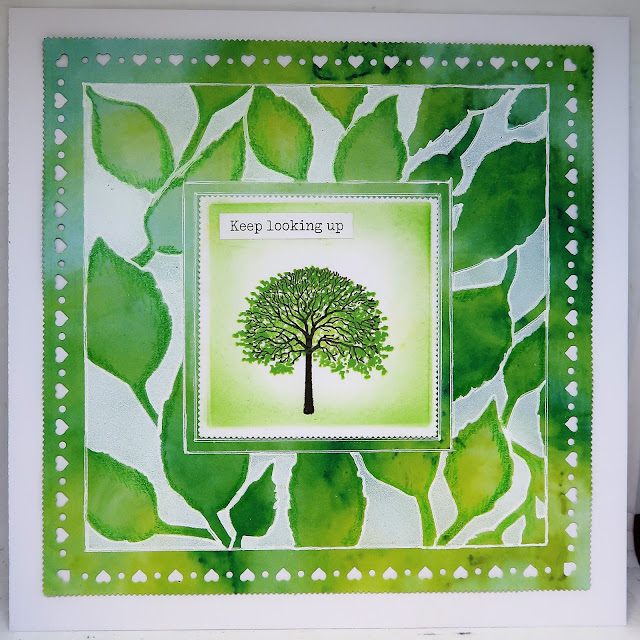
Add the topper to the centre of the card.

To finish, add one of Barbara’s words stickers.


No comments: