Gnome Xmas Waterfall Card
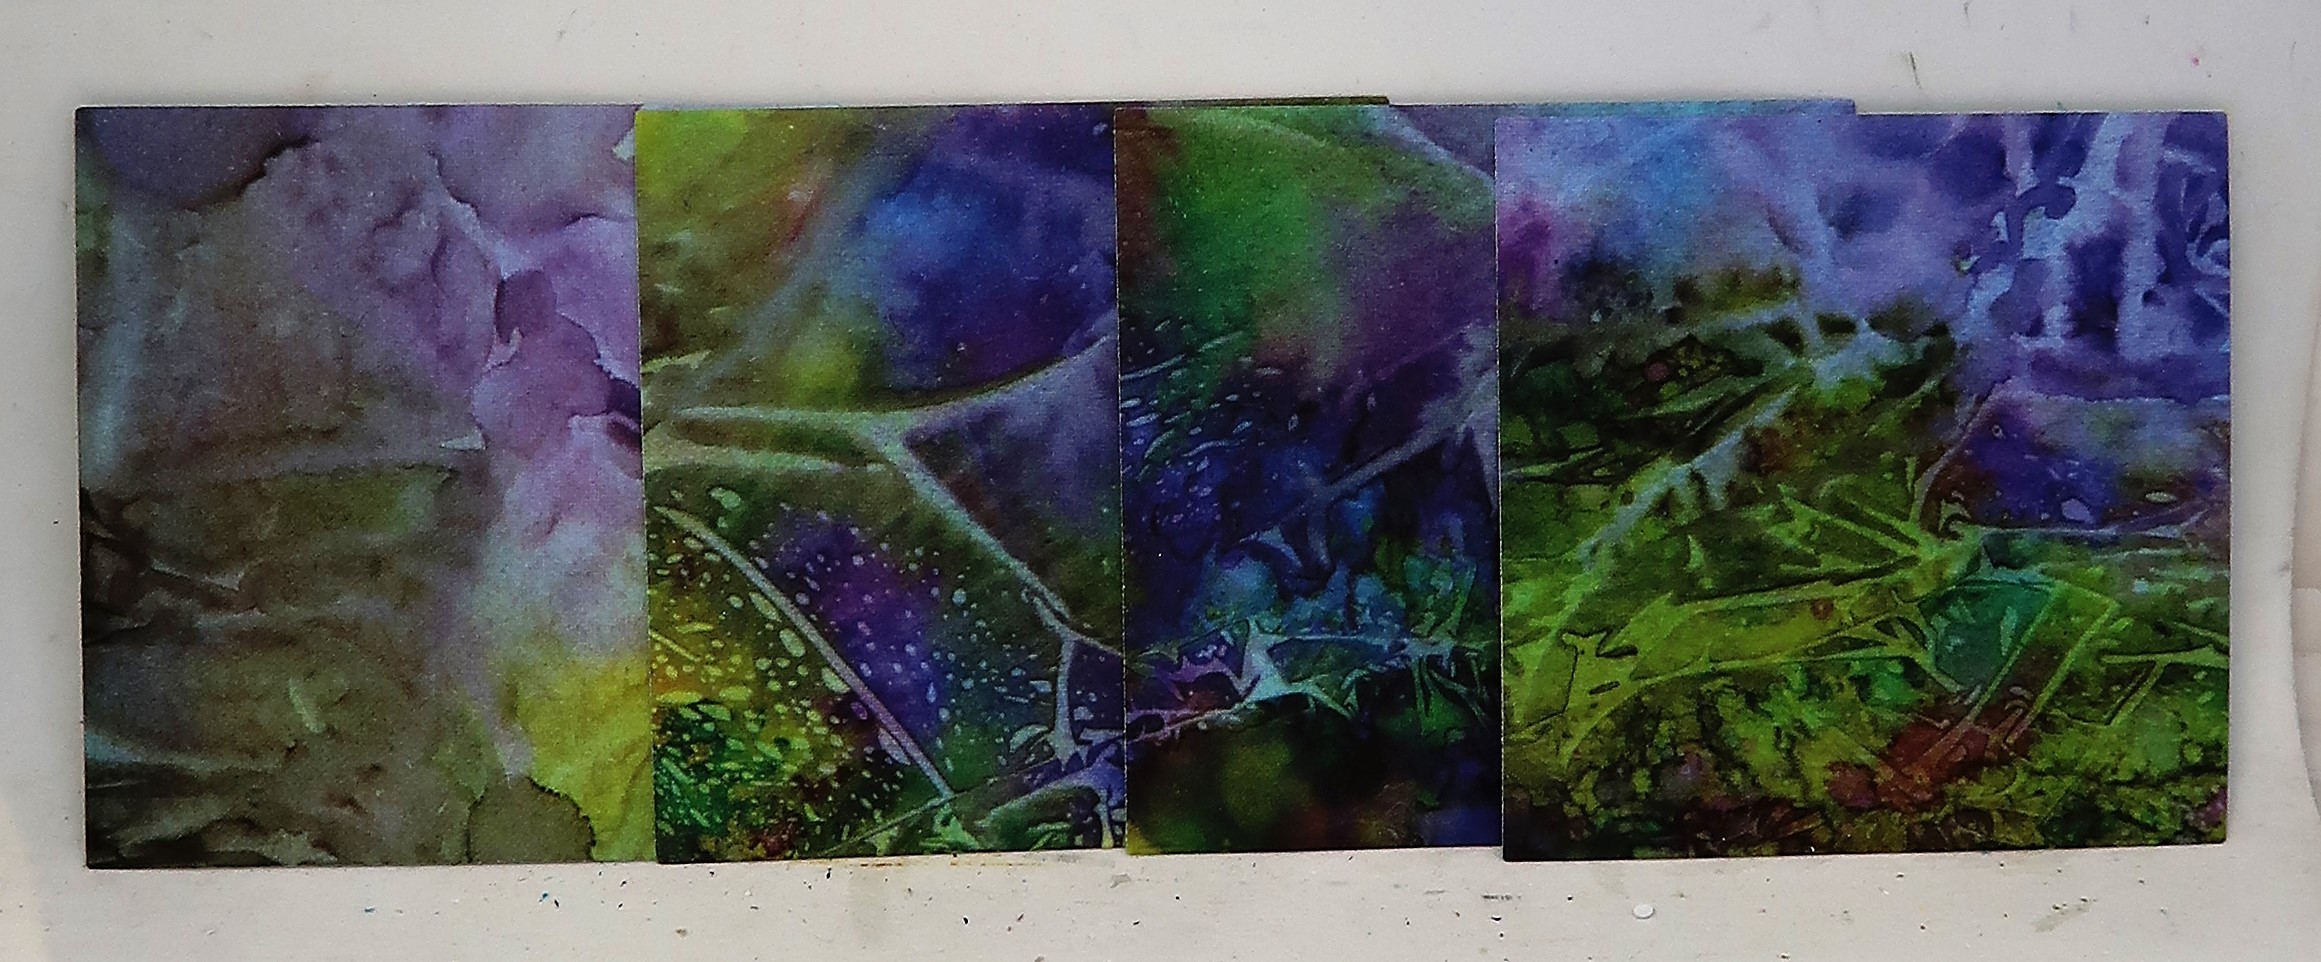
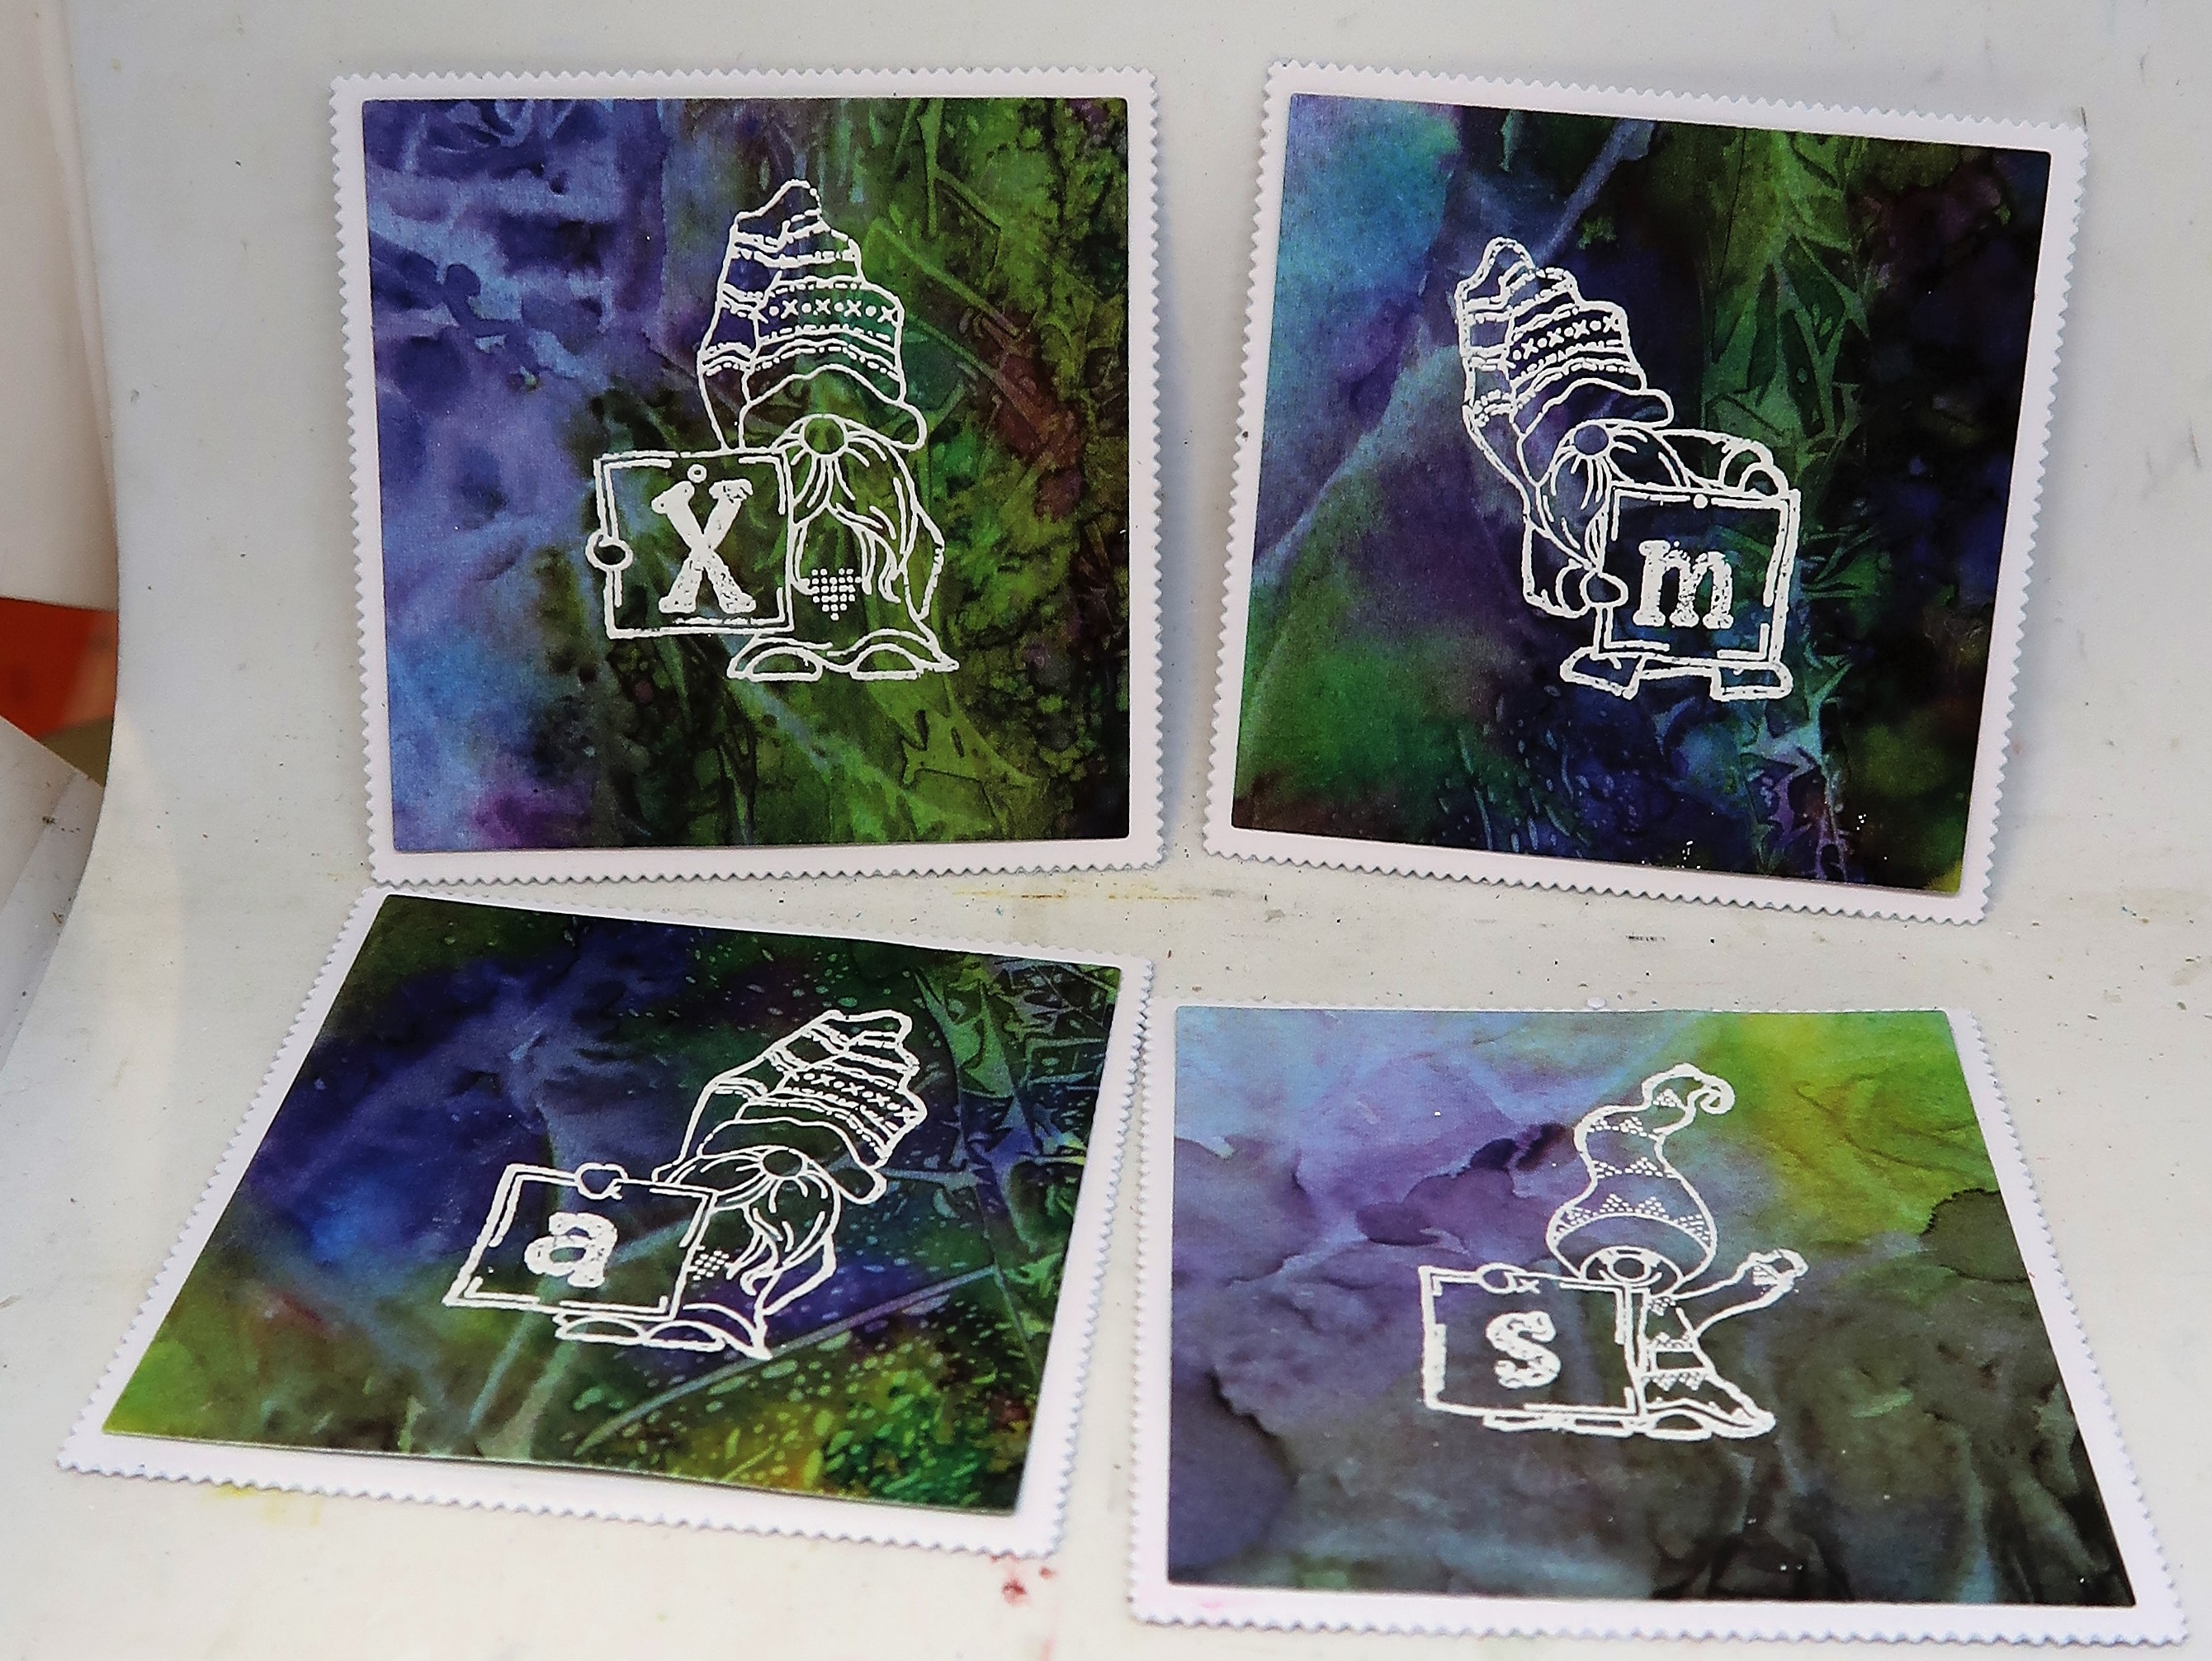
I thought the new Gnome Letterbox stamps and alphabet were perfect for this Christmas waterfall card.Die cut four panels from a piece of Antarctica designer paper using the 2.5” nested square die.Stamp one of the A5 Letterbox Gnomes onto each square in Versamark ink. Heat emboss with white embossing powder. Add letters into the box of each gnome to spell Xmas in the same manner using the Gnome letterbox alphabet. Cut a mat for each topper from Clarity stencil card using the 2.75” nested square picot die. Mat up the images. Cut a strip off a piece of large Clarity stencil card the length of the card x 6.8cm. Score a line at 6.8cm from the bottom and then four more lines 2cm apart. Add a panel to the bottom square with wet glue. Fold back the panel, add glue to the next section between the fold lines. Add a second panel, lining up the top of the panel with the top score line of that section. Continue until all toppers are in place. Fold the excess back. Cut another strip of stencil card 6.8cm x 9cm. Glue it onto the back of the folded back panel so that 5cm shows below the toppers. Make a card blank from Clarity stencil card measuring 8.5” x 4”. Cut a panel from the same pattern of Toscana designer paper (8” x 3.5”) and mat it onto black card (8.25” x 3.75”). Cut a strip of black card (2.5cm x 9.5cm), cut a strip of the Antarctica paper 2cm x 9.5cm and mat the two together. Attach this strip to the patterned topper with eyelets either side so the bottom of the strip is 5.5cm from the bottom of the panel.Shape the bottom of the pull section. Slide the waterfall mechanism through the eyelet strip and glue the bottom of the lowest topper to the eyelet strip. Check that the waterfall mechanism works. Trim off the bottom section of the pull. Add an eyelet to the bottom of the pull and thread ribbon through it. Add the topper to the front of the card blank. To finish, die cut With Love and Best Wishes using the sentiment from the Floral Frame from black card, fussy cut the Wishes and add it to the pull at the bottom.


No comments:
Post a Comment