I was determined to create a layered background using my large gel press plate and the Charge of Lancelot stencil from Claritystamp. I ended up with something I was proud of in the end, but it was a very bumpy journey!
 My first mistake was not working from front to back on the gel plate. Instead of starting with the stencil image, I created layers of background and added the stencil last. Big mistake! Remember that gel printing is like stamping, you start with the layer that you want to see at the front, add further layers going backwards until you are ready to pull the final print. The only good thing about the mistake, is that I created a wonderful mop up sheet while cleaning off my brayer and the bubble wrap. This came in really useful later as you will see.


 So, having learnt from my mistake and having cleaned my gel plate, I started again. I laid the stencil onto the large gel plate, blended Matt Kelp Brown acrylic paint over the top with a brayer ensuring full coverage, removed the stencil and allowed the plate to dry.
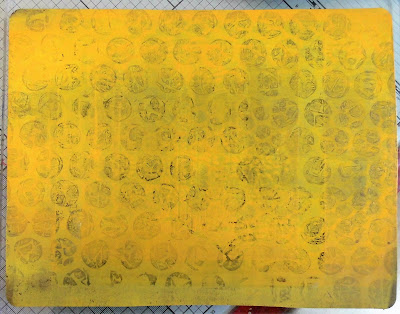
 Next I added Matt Sunflower acrylic paint, pressed large bubble wrap into the paint to add texture, removed the bubble wrap and allowed it to dry once more.
 I repeated the process with Matt Melon paint, lifting off the colour with small bubble wrap this time.
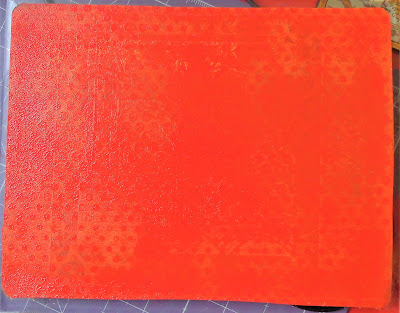
 Finally, I used Matt Passionate Red acrylic paint and the large Dotty Wave stencil.
 Once all the paint was dry on the plate, I added a thin layer of Buff Titanium paint over the plate with a brayer and immediately pulled a print onto large stencil card. Even though I rubbed hard on the back of the card not all the paint was removed.
 Having failed once before, I was determined to work with this print. First I trimmed it back to 15.8cm x 15.8cm leaving a narrow border.
 Next, I trimmed the damaged centre section away and edged the inner sides in black pen.
 I blended Ground Espresso Archival ink through the stencil onto the brayer clean up sheet to fill the gap.
 The side panels were added over the brayer clean up sheet to create a complete image.
 The edges were trimmed and the piece added to the front of 7” x 7” black card blank.

 To finish, I die cut ‘Happy Birthday’ from black card and an off cut of brayer mop up sheet and stuck them together creating a drop shadow. The sentiment was added to the card.
Even though the card didn't turn out the way that I first pictured it, I have learnt a great deal through making it and I hope you have too.
To finish, I die cut ‘Happy Birthday’ from black card and an off cut of brayer mop up sheet and stuck them together creating a drop shadow. The sentiment was added to the card.
Even though the card didn't turn out the way that I first pictured it, I have learnt a great deal through making it and I hope you have too.


1 comment:
great save!!!
Post a Comment