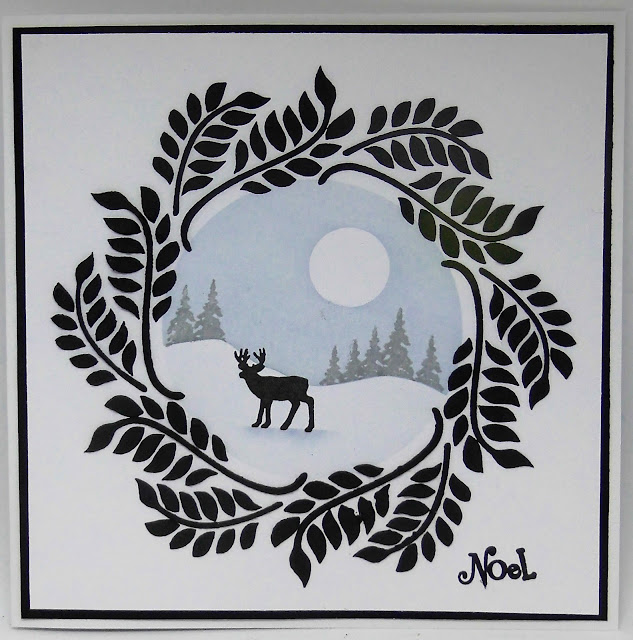
I know that black isn't the first colour that you might think of when making a Christmas card, but the embossing paste through the Laurel Christmas Wreath stencil from Claritystamp finished this card perfectly.
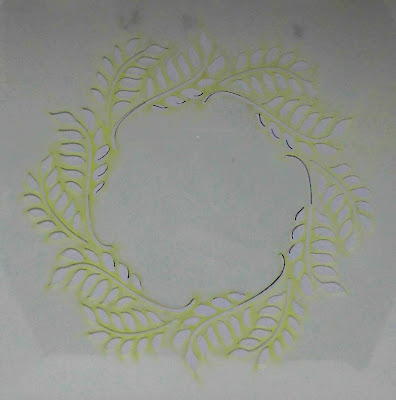
 I started by attaching the 7" x 7" stencil to a piece of Clarity stencil card of the same size and marking the inner edges of the frame in pencil.
 The stencil was removed and a piece of copy paper added over the marked out centre. A 3.5" circle die had been used to cut an aperture. The smallest moon mask and the Hills & Mountains mask from Claritystamp were laid into position and Midnight Blue Artistry ink blended through the aperture with a Clarity stencil brush.
 With the masks replaced, the teeny weenie fir tree from the Stag Outline stamp set was stamped multiple times in Smokey Grey Versafine ink.
 A light blending of colour across the 'snow' with the circle mask in place caused the shape to stand out and the reindeer from the same stamp set was added in Onyx Black ink. Copy paper. A spot on sponge with the same Artistry ink, created the shadow that the reindeer is standing on.
 The stencil was replaced over the guide lines and Black Dream weaver embossing paste dragged through the apertures, covering up the lines and creating a frame for the scene.
 Once completely dry, the edges were trimmed (16.5cm x 16.5cm) and the Noel stamp from the Mini Word Chains 13&14 set stamped in Onyx Black ink. This covered up the slight splodge of paste on the card! The topper was matted onto a piece of black paper (17cm x 17cm).
 Finally, the whole thing was added to a 7" x 7" card blank.


No comments:
Post a Comment