Steampunk Tag: The Second
Having made one steampunk tag for the current challenge over on Tag Tuesday: Steampunk/Mechanical, I couldn't resist making another. Even though I followed very similar steps to the first one that I made, they turned out completely differently.
I started by adding the small remaining piece of a paper towel, which had been used to clean my stamps when I was making my own washi tape (see HERE), onto a #8 manilla tag. It was sealed with matte medium, dried and trimmed.
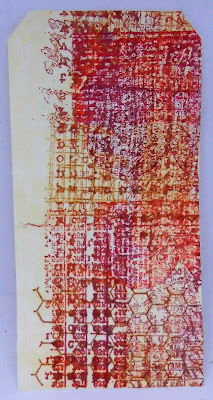
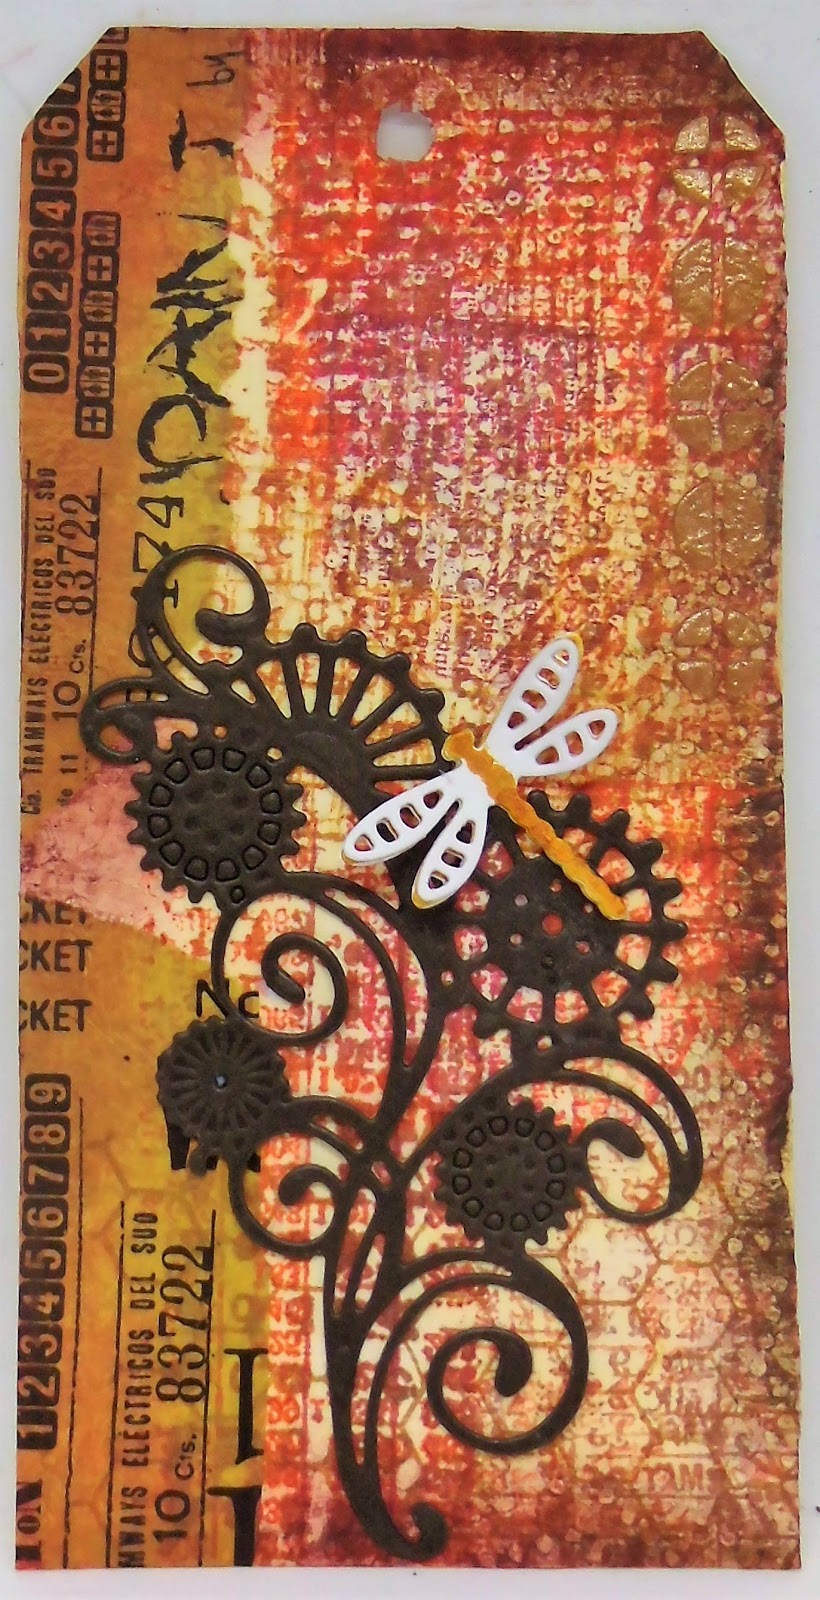
To help cover up the blank space down the left hand side, I added some offcuts of the 7Gypsies Collage Tissue (Numero), rather than the stamping which I used on my previous tag, then blended some Scarlet and Sepia Oil Pastels around the edges of the tag (Van Gogh by Royal Talens).
A die cut steampunk flower posy which I had received in happy mail (by Sue Wilson, I believe) was perfect for the focal point.
I decided to add a tiny dragonfly from my stash, die cut twice using a die from one of the Crafter's Companion advent calendars. The bottom die was painted entirely in Quinacridone Nickel Azo Gold, with the top dragonfly only painted along the body. The two were matted together (and attached to the tag) along the body to allow the wings to move freely.
Next I added Dreamweaver Copper embossing paste through the top line of screw heads on the Tim Holtz mini stencil (THMS087) down the top right hand side of the tag. This is the only process that I didn't use on my previous tag.
I added a couple of the Tim Holtz Clippings Stickers and went round them with the Sepia Sakura PN micron pen. I also decided to highlight the screw heads in the same way too. As you can see, a change of colour scheme and focal points can make a massive difference to the look of a tag.
This was my previous tag, made in a similar way using happy mail as a focal point (see HERE for details).


No comments:
Post a Comment