This is the first set of ATCs that I created for the January swap on Junk Journal Junkies and Mindful Art. My swap partner was quicker off the mark than I was and I received 6 rather than the 3 ATCs that I was expecting, as well as some gorgeous happy mail from her. I therefore created a second set of three to add to my package which I will share tomorrow. As usual, I used Claritystamp masks and stamps to create my ATCs. The prompt letter for January was E.
 I worked on mixed media card cut to 2.5" x 3.5" for all the ATCs. The first one (E is for easel) uses the small easel from the Brilliant Work of Art stamp set. All the stamping was done in Onyx Black Versafine ink and heat embossed using detail clear embossing powder.
 I drew a scene onto the painting on the easel using a Sakura black micron pen and coloured it using Royal Talens Ecoline pens. The background was painted in using the same pens, scribbled onto an acrylic block and picked up with a water brush.
 Finally, the uppercase E from the Word Chain Alphabet was stamped and heat embossed and the 'is for easel' handwritten on using the Sakura micron pen.
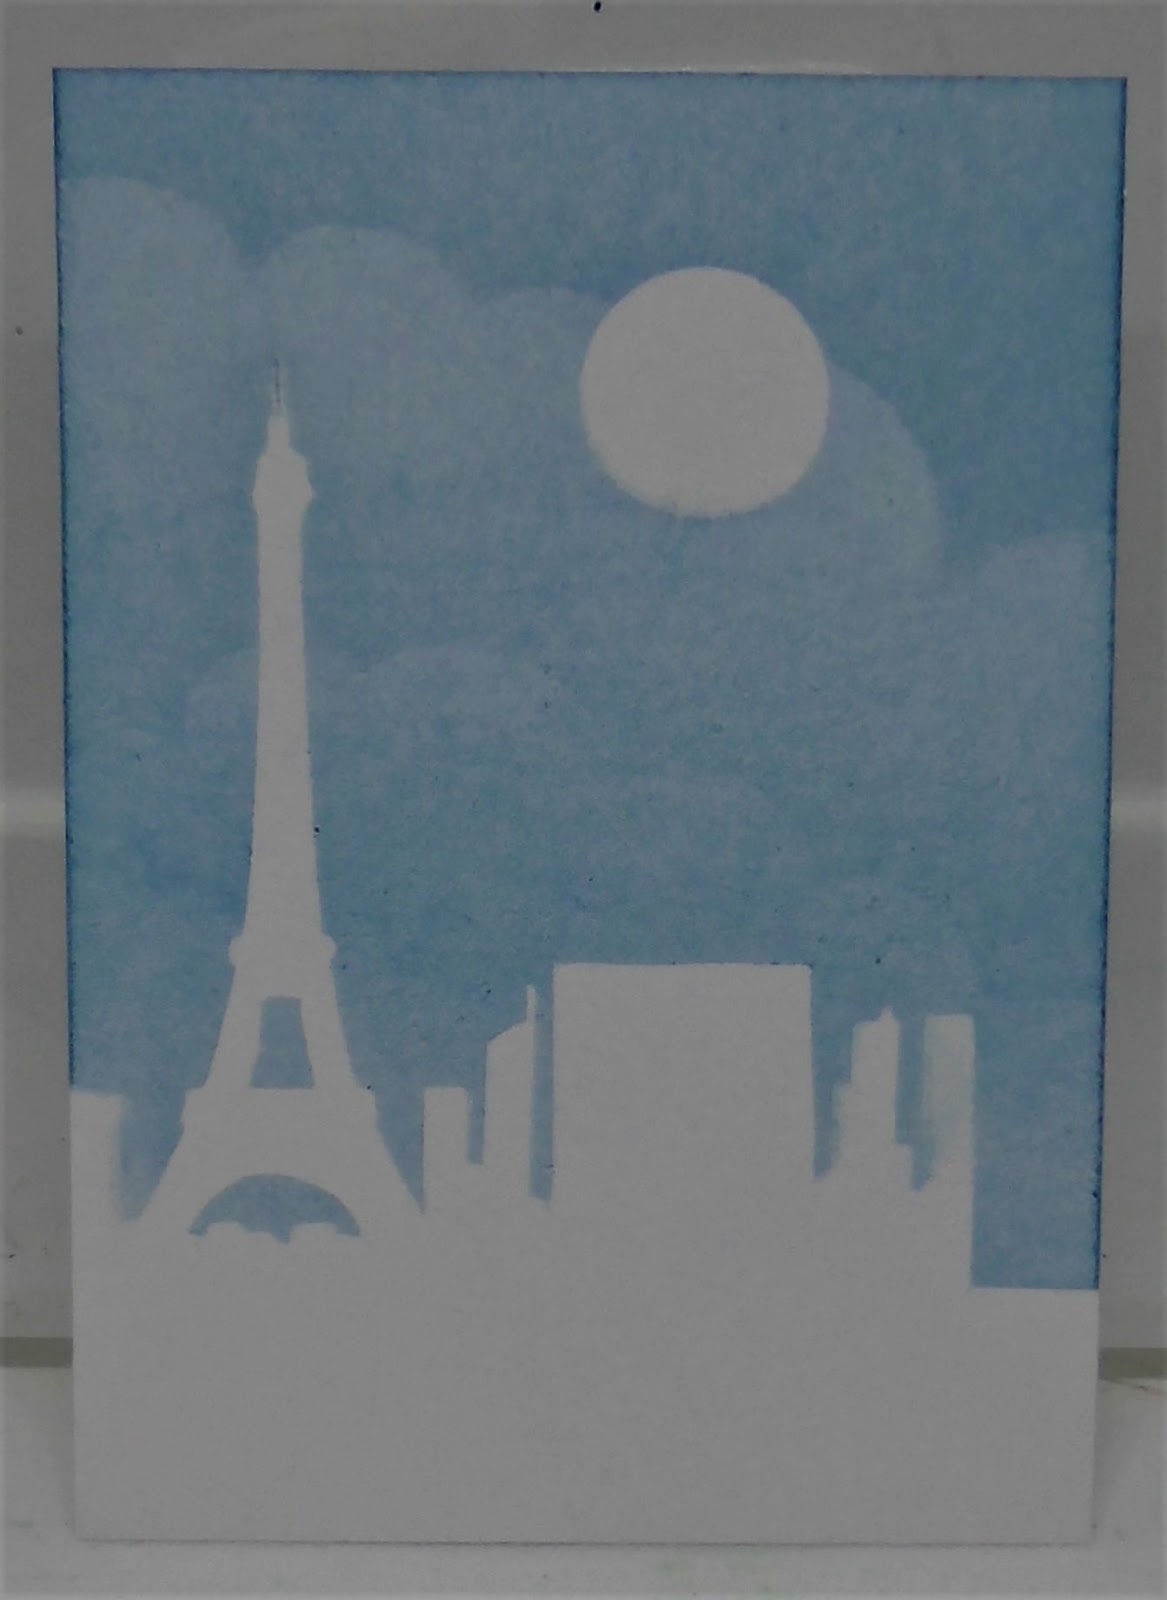
 The second ATC (E is for Eiffel Tower) was created using the Paris Skyline Mask and a tiny moon mask. First the ground and moon were masked off and the sky brushed in using Ocean Reef Artistry ink and a Clarity stencil brush. The clouds mask was used to add detail.
 Once the sky was complete, the other part of the mask covered it up and Black Onyx Versafine ink was used along the bottom. The mask was removed and detail clear embossing powder added to the ink, before being heat set to create a glossy finish.
 The letter and hand written journaling were added in the same way as on all the ATCs.
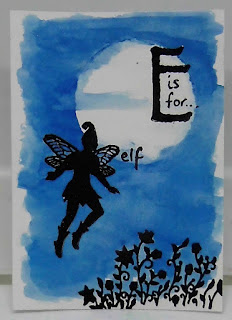
 E is for elf was my choice for the final ATC in the first set. I started by stamping and embossing one of the elves and the flowers from the Wee Folk 4 stamp set.
 Next I added one of the larger moon masks and used the Starry Sky Sparkle pen (Spectrum Noir) to add colour all over the background with a water brush. Unfortunately, a little seeped under the mask, so I turned this into wisps of cloud across the moon once the mask was removed.
 Finally, the lettering was added as before.


No comments:
Post a Comment